Flooring Project: Kitchen Vinyl Plank (LVP)
A waterproof flooring protocol for high-moisture areas with complex cabinet and island navigation.
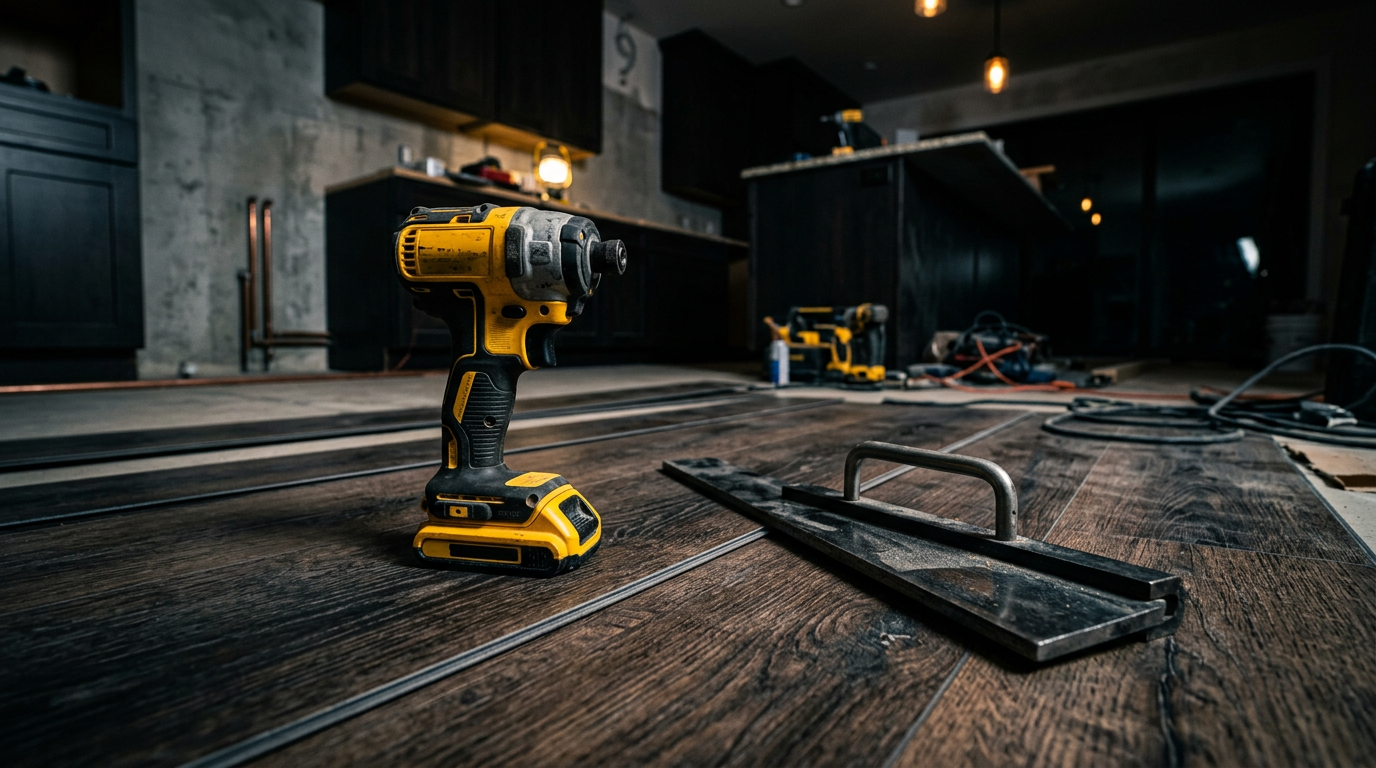
Luxury Vinyl Plank (LVP) is the ideal solution for high-moisture kitchen environments. This project roadmap covers the precise layout and cabinet navigation protocols needed for a seamless, floating floor finish.
- Luxury Vinyl Plank (LVP)
- Waterproof Underlayment (if needed)
- 1/4 inch Spacers
- Flush-Mount Transitions
- Silicone Caulk
Project Blueprint
Step-by-step execution guide
Kitchen Geometry Prep
In a kitchen, the flooring must go AROUND the cabinets, not under them (unless they are floating). This requires precise area calculations for the 'exposed' floor only.
Material Ordering
Order 10% extra for standard rooms, but 15% extra for kitchens due to the complex cuts around islands and cabinetry.
Cabinet Notching
Use a jigsaw to notch planks around the toe-kick of the cabinets. Leave a 1/4 inch gap and cover it with a bead of color-matched silicone caulk for a waterproof seal.
Transition Logistics
Ensure you have the correct transition strips for joining the LVP to existing tile or hardwood in adjacent rooms. These should be 'floating' to allow for expansion.
Jobsite Safety
Always wear eye protection when cutting lumber or driving nails. One splinter can derail a weekend project. Trust the numbers, but prioritize your safety.
Official DIYLookup Jobsite Notice
Support the Blueprint
DIYLookup is built for builders by builders. Help us keep the math open-source and the site ad-free by supporting our mission.