Tile Project: Small Bathroom Floor
A technical strategy for centered tile layouts in tight spaces with fixture navigation.
A successful bathroom tile project depends on a symmetrical layout and precise cuts around fixtures. This guide provides the tactical roadmap for a professional, centered finish in tight quarters.
- Floor Tile
- Modified Thinset Mortar
- Grout (Sanded or Non-Sanded)
- Backer Board (if needed)
- Tile Spacers
Project Blueprint
Step-by-step execution guide
Defining the Center-Line
In a small bathroom, symmetry is critical. Snap a chalk line between the center of the doorway and the far wall. This ensures even cuts around the vanity and toilet flange.
Thinset Application
Mix thinset to a 'peanut butter' consistency. Apply using the flat side of the trowel first (back-buttering the floor), then comb out with the notched side at a 45-degree angle.
Precision Cuts
Use an angle grinder to make 'U' shaped cuts around the toilet flange. Maintain a 1/8 inch gap between the tile and the flange for the wax ring seal.
Grouting and Cleaning
Let thinset cure for 24 hours. Pull spacers and apply grout using the float at a 45-degree angle. Clean with a damp sponge after 15-20 minutes, changing water frequently.
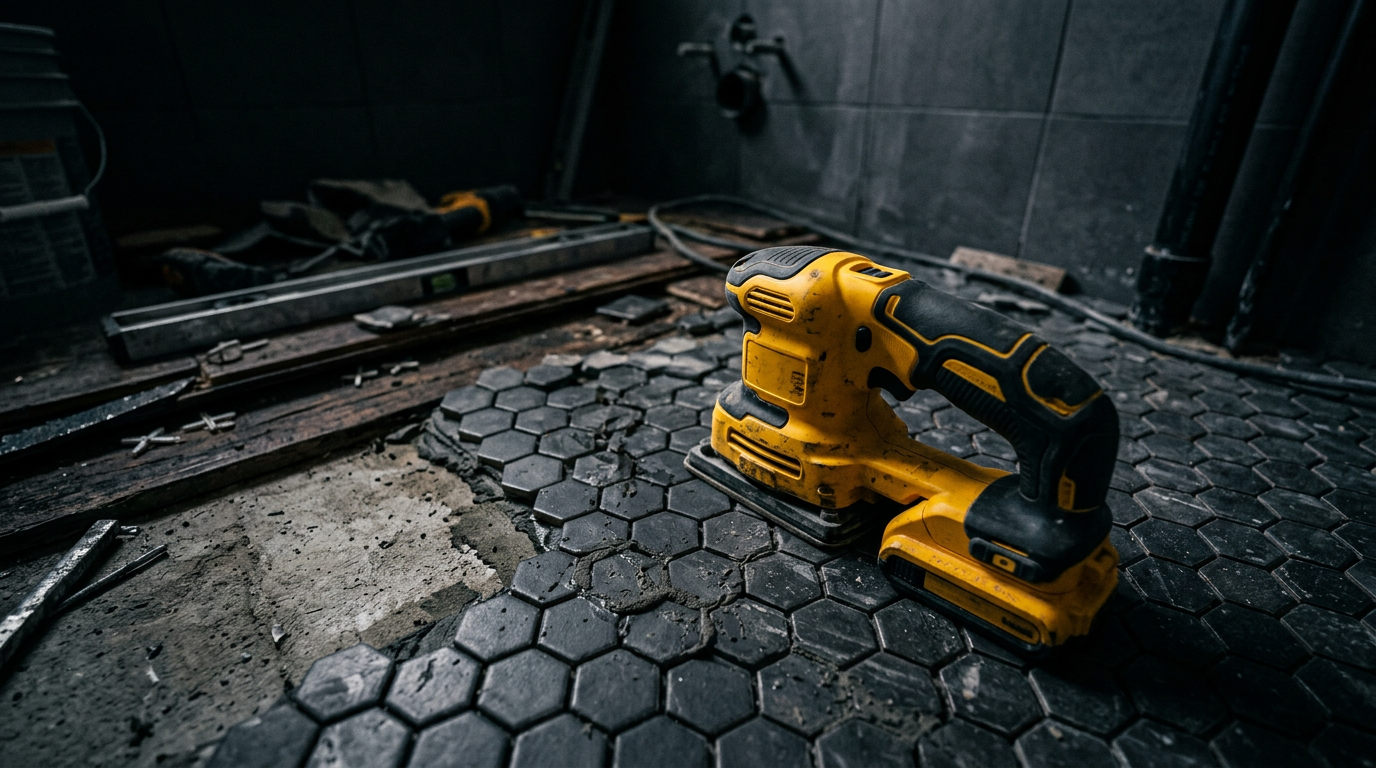
Jobsite Safety
Always wear eye protection when cutting lumber or driving nails. One splinter can derail a weekend project. Trust the numbers, but prioritize your safety.
Official DIYLookup Jobsite Notice
Support the Blueprint
DIYLookup is built for builders by builders. Help us keep the math open-source and the site ad-free by supporting our mission.