Framing a Standard Shed Wall
A complete step-by-step blueprint for framing a 12-foot shed wall with standard 16" on-center spacing.
Framing a wall is the foundation of any shed project. While it looks complex, it's just a repetitive pattern of wood and nails. Follow this blueprint to get your walls plumb, level, and square.
- 2x4 Lumber (Grade #2 or better)
- 3-inch Framing Nails
- Construction Adhesive
- Top & Bottom Plate Stock
Project Blueprint
Step-by-step execution guide
Layout the Plates
Cut your top and bottom plates to the exact length of the wall (12 feet in this case). Lay them side-by-side on the floor and mark your stud positions every 16 inches.
Cut the Studs
Verify your wall height. Subtract the thickness of your top and bottom plates (usually 3 inches total for single plates) from your target height to get your stud length.
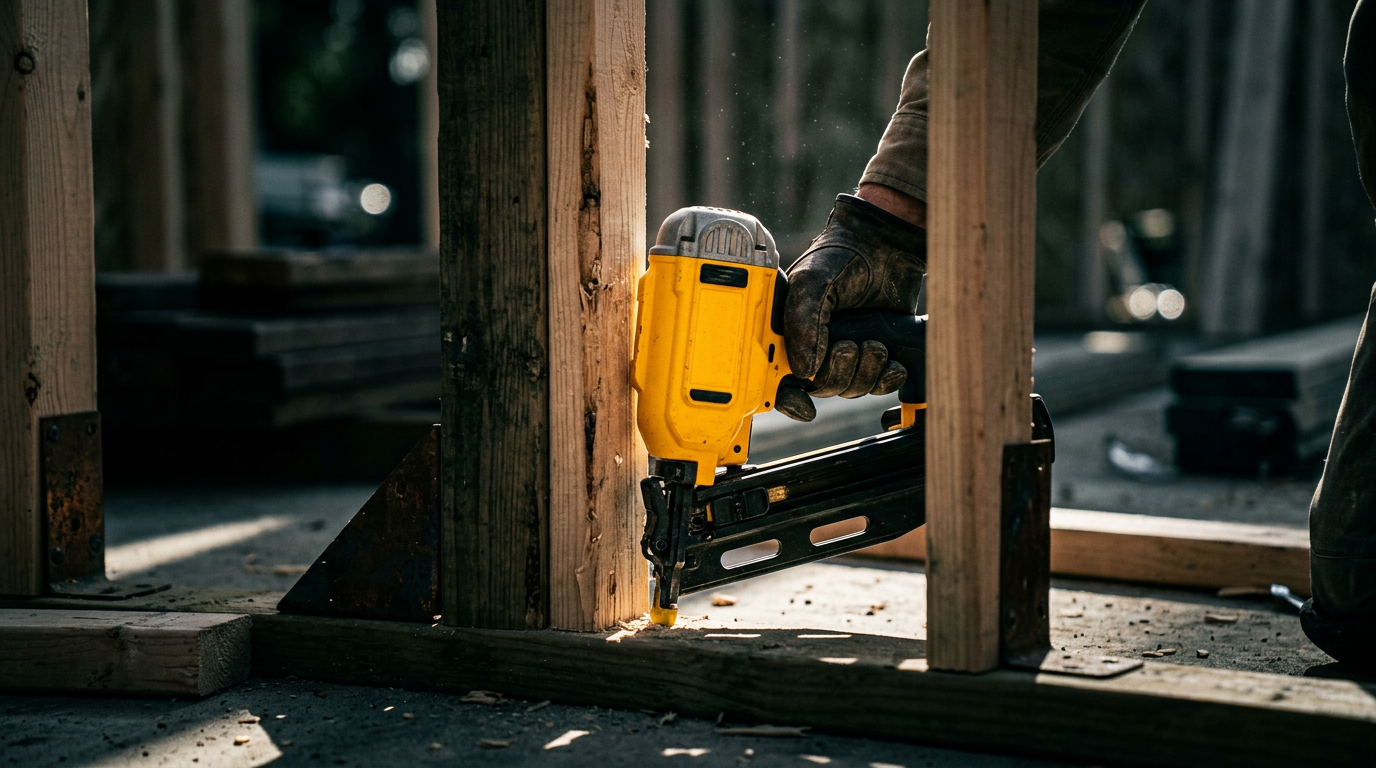
Assemble the Frame
Nail the studs to the plates using two 16d nails through the plates into each end of the stud. Ensure the studs are flush with the edges of the plates.
Square the Wall
Measure diagonally from corner to corner. Adjust the wall until both diagonal measurements are identical. This ensures your wall is perfectly square before it's stood up.
Jobsite Safety
Always wear eye protection when cutting lumber or driving nails. One splinter can derail a weekend project. Trust the numbers, but prioritize your safety.
Official DIYLookup Jobsite Notice
Support the Blueprint
DIYLookup is built for builders by builders. Help us keep the math open-source and the site ad-free by supporting our mission.